
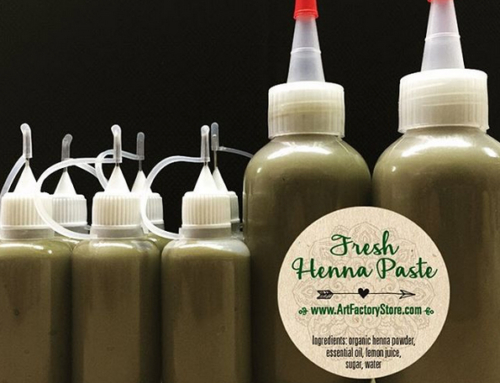
How to make your own henna paste for henna tattoos.

Making your own henna is not difficult to do! Although a lot of new artists are afraid to try. I always recommend you try pre-made henna paste first just so you know how the consistency should feel. Henna powder is 100% natural and it behaves slightly different in different climates. Believe it or not, humidity levels have a lot to do with the consistency of the paste. Be sure to remember that when mixing your own batch of henna powder.
Keep in mind that you will need to mix up your henna the day before you plan on using it to ensure it has enough time to release the dyes. (So if you plan to apply tattoos today – you are too late… The henna will probably not have enough time to sit and therefore will not make the darkest stain (or any stain at all ) on your skin.
Mixing Henna Paste Ingredients:
- 100gr henna powder (I recommend having more than one box on hand in case your paste comes out too “runny” you could add more powder to tweak the recipe.
- 1 & 1/4 cup of preserved lemon juice (any brand)
- 1 fl oz of Essential Oil (Cajaput or Lavender) It is important to use high quality oils that are high in terps’ (not sure what that is? just order from a good henna supplier and not from amazon or your soap making kit)
- Sugar (up to 1/2 a cup) depending on weather. Start by adding 1 table spoon at a time until you reach smooth consistency.
- In a glass bowl place the content of 100 gram of henna powder, 2 tbsp of sugar and 1/5 oz of essential oil.
- Then add 3/4 cup of lemon juice and start mixing all the contents together with either a fork or a whisk.
It will feel like you are mixing a batch of instant mashed potatoes and the goal is to eliminate as much lumps as possible. If the consistency is still too stiff after mixing for a while you can start adding a bit more lemon juice at a time. You don’t want it to be too runny but you want to reach really smooth batter-like consistency.
It is ok if you did not use all your lemon juice. you can always add more later after the dye released. (after 6-10 hours) - Cover your bowl with plastic wrap, pressing the wrap directly onto the surface of the paste. Place a paper towel over the plastic wrap and place another smaller bowl or other item to put a little bit of weight over the plastic bowl.
- Leave to dry in a warm place for about 10 hours.
- After the 10 hours, apply a small amount of paste on the palm of your hand and see if henna stains skin after 5 minutes. (Timed)
Henna paste is ready to cone when stain is pumpkin orange on your palm. Some henna powders can take up to 24 hours for a maximum dye release.
You can adjust the consistency of the paste as desired by adding additional water or lemon juice a little bit at a time.

Filling Henna Cones
Once you are happy with your henna stain, it’s time to fill cones! Gloves are recommended for this part. Add the paste to a carrot bag
(It’s easiest if you stand the carrot bag in an empty glass while you fill it with henna.) Fill the cellophane cones until 3/4 full by gently squeezing the henna out of the carrot bag. Seal the ends of the cones by folding and rolling the end and taping to secure.

Applying Henna & After Care
Now is the time you’ve been waiting for, creating henna art! Cut a small portion off your henna tip. Construction paper or laminated sheets are
great to practice on before applying to the skin.
Clean the skin with alcohol before you begin. Once your tattoo has been applied, you can add a small amount of glitter to the wet paste design with a poof bottle for a temporary sparkle. When the henna gets dry and the lines start cracking, add sealant. The longer the henna paste remains on the skin, the darker your design will get.
Scrape the dried paste after 2-8 hours. Olive oil or lemon juice can be used to remove any stubborn spots of henna. Apply balm to keep the stained area moisturized and provide a barrier before washing. The stain will start as a pumpkin orange and darken over the next 48 hours. Henna stains last 1-3 weeks.
